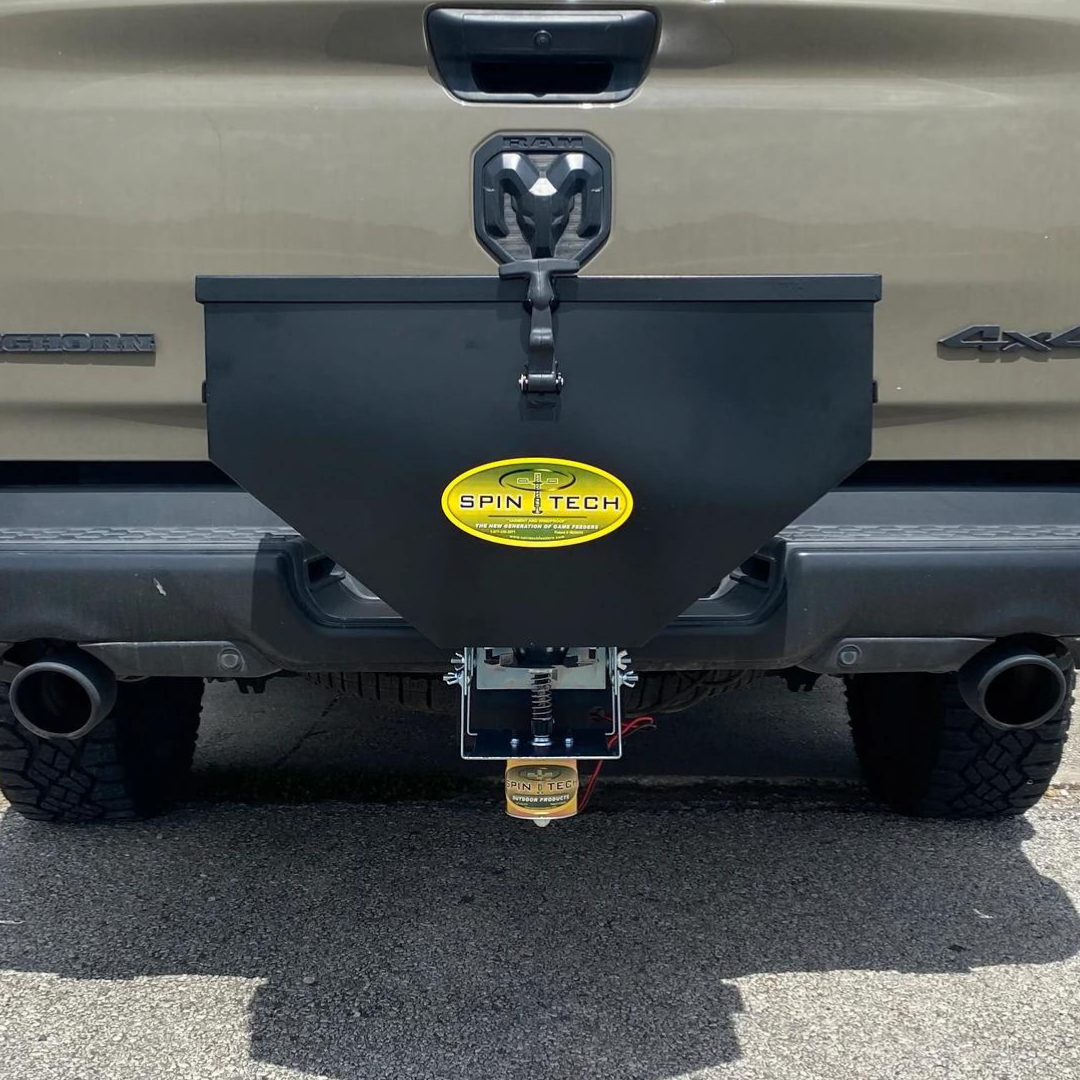
ATV/UTV Mounted Multi-Spreader
Introduction
The The ATV/UTV Mounted Multi-Spreader is built for durability and versatility, handling seed, fertilizer, salt, feed, and more. This page provides essential setup, maintenance, and troubleshooting information to ensure optimal performance.
Sections:
Testing Your Spreader
Spreading Sand
Cleaning the Hopper & Spinner
Storage
Installation Instructions
User Notes
Spreading Sand
- This spreader is compatible with DRY sand only.
- Wet sand will clog the system.
- Use the included agitator when spreading sand for consistent flow.
Testing Your Spreader
- When testing without material in the hopper, the spinner may drop, then slowly rise and seal while still spinning.
- This is normal—the spreader requires material in the hopper to function properly.
Cleaning & Maintenance
Cleaning the Hopper
- Remove the spinner assembly (motor and spinner mechanism) by removing the 4 wingnuts and pulling the assembly off before cleaning.
- Rinse the hopper thoroughly with water and Dawn dish soap.
- Fully dry before storage to prevent moisture buildup.
Cleaning the Spinner Assembly
- Do not spray with high-pressure water (hose, faucet).
- Instead, use a spray bottle with a soapy water mixture, a towel, and a brush to clean.
- Focus on the spindle shaft to remove dust buildup.
- THOROUGHLY DRY and apply WD-40 before storage to prevent corrosion.
- Lubricate the spindle shaft with WD-40 after cleaning to ensure smooth operation.
Storage Guidelines
- Store in a dry location.
- Always CLEAN and DRY before storage to prevent rust or damage.
Owner's Manual & Installation
Agitator Installation
Your spreader includes an agitator attachment. If spreading materials that tend to clump—such as sand or salt—you should install the agitator.
- DO NOT use the agitator when spreading seeds or fertilizer. Keeping the agitator off allows for finer control of your gap setting, ensuring precise spreading.
How to Install the Agitator
- Remove the three nuts located at the base of the three bolts on top of the spinner plate.
- Replace the original bolts with the agitator bolts (pictured in the manual).
- Pro Tip: If you have not yet assembled your spreader, the spinner plate will be exposed and unfastened, making it easier to install the agitator at this stage.
Parts List
- A. Hopper
- B. Lid
- C. Spinner Assembly Back Shield (Optional Use)
- D. Parallel Mounting Brackets
- E. Spinner Assembly
- F. Power Cord (10')
- G. Accessory Plug Connection
- H. Direct-to-Battery Adaptor (Optional Use)
- I. Mounting Hardware (Nuts, Bolts, Washers, U-Bolts)
Assembly Instructions
Step 1: Prepare the Hopper
- Place the hopper upside down with the lid removed and the front (sticker side) facing you.
- Remove all hardware from the attached mounting bolts.
Step 2: Attach the Mounting Brackets
- Position the parallel mounting brackets onto the four mounting bolts on the hopper.
-
Secure each bolt by placing a washer and lock washer first, then thread the 9/16" nut down tightly.
- Ensure the square carriage bolt holes on the sides of the brackets face the inside of the spreader.
Step 3: Install the Spinner Assembly
- Align the bolt holes on your spinner assembly with the corresponding holes on your parallel brackets.
- Thread two bolts (Part # I) through the two front-facing bolt holes from the inside out.
- Secure each bolt with a washer, lock washer, and then tighten using the wingnuts.
- Do not install the two rear bolts yet.
- Do not install the two rear bolts yet.
Step 4: Install the Back Shield (If Using)
- If installing the Spinner Assembly Back Shield (Part # C), repeat the previous step, but install the shield before placing washers and threading the wingnut.
Step 5: Mounting to Your ATV/UTV
- Align the parallel mounting brackets to the racks or expanded metal of your ATV/UTV or other vehicle.
- Secure using the included U-bolts (1/2") to ensure a firm fit.
Step 6: Powering the Spreader
- Plug the 10' power cord into the plug protruding from the motor on your spinner assembly.
-
Connect the other end to your vehicle’s Accessory Plug (Cigarette Lighter).
If your vehicle does not have an accessory plug, use the Direct-to-Battery Adapter (optional):- Connect the adapter to the spreader’s power cord, then secure the positive and negative clips to the corresponding terminals on your battery.
This information is also available inside the lid.
✔ For questions or support, contact us:
📞 Phone: (210) 408-8019
📧 Email: info@spintechspreaders.com