SpinTech 300LBS Stand and Fill Feeder Owner's Manual
Introduction
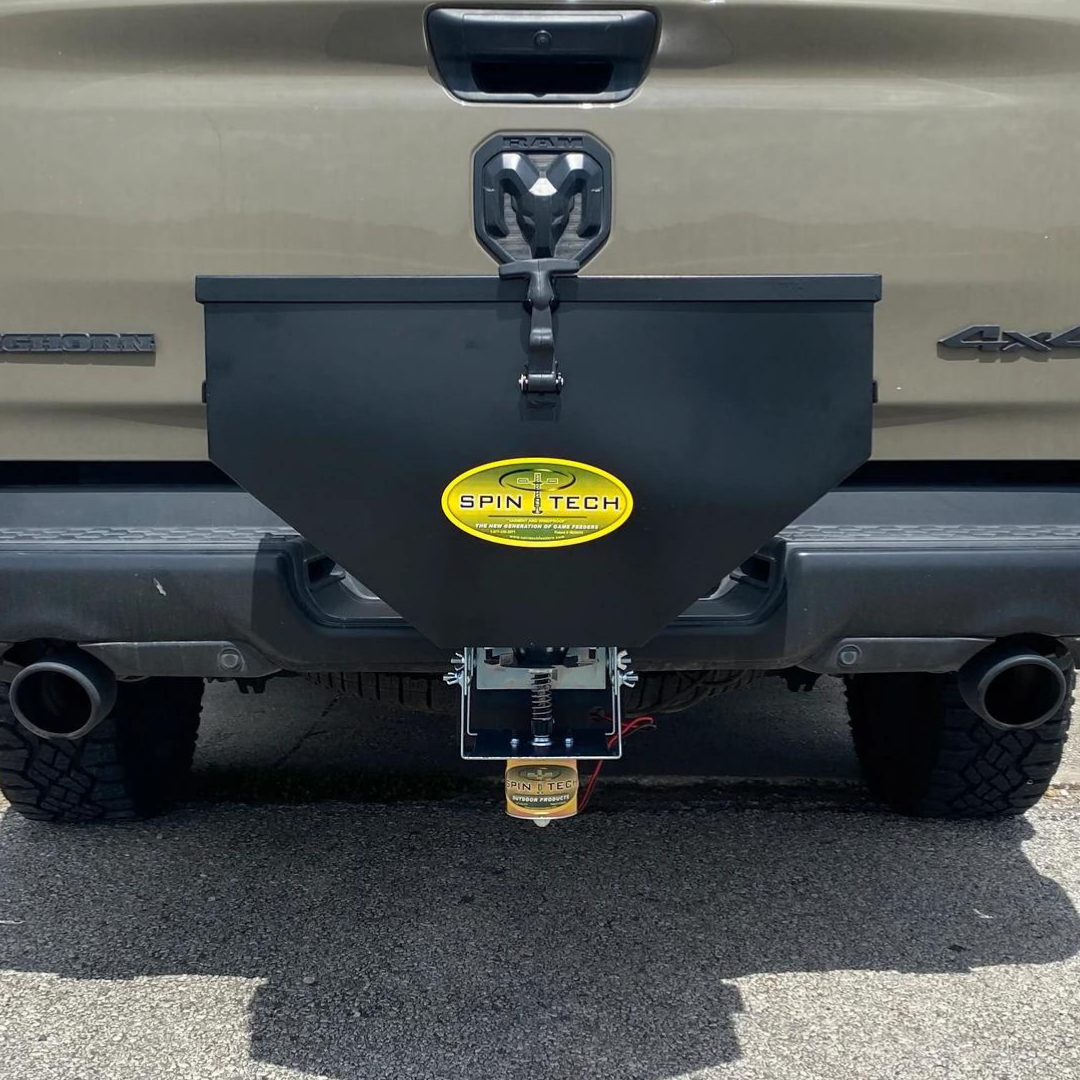
The SpinTech 300LBS Stand and Fill Feeder is a durable, high-capacity wildlife feeder designed for ease of use and reliability. Its sectional leg system provides a sturdy base, while the patented SpinTech spinner mechanism ensures zero waste and efficient feed distribution. This guide will walk you through setup, maintenance, and troubleshooting.
Sections:
Testing Your Feeder
Spreading Sand
Cleaning the Barrel & Bracketing
Storage
Installation Instructions
User Notes
Testing Your Feeder
When testing the feeder without material in the hopper, you may notice that the spinner drops, then slowly rises and seals shut while still spinning. This is normal, as the feeder requires material in the hopper to function properly when brand new.
Solar Panel Installation
The mounting screws included with your solar panel are self-tapping screws and will secure into the feeder’s surface.
- Mount the solar panel around the pre-cut hole (with the plastic plug) on the front of the hopper.
- Feed the solar panel power cord through the opening into the timer box inside the hopper.
- Connect the positive wire of the solar panel to the positive terminal on the battery and repeat for the negative terminal.
SpinTech 12 Volt Solar Panel Assembly
- Attach the small angled bracket to the top of the solar panel using the smaller screws. Ensure the bracket’s point faces the back.
- Attach the hinged bracket to the bottom of the solar panel using the remaining small screws, ensuring the rounded hinge protrudes away from the panel.
Cleaning & Maintenance
Cleaning the Hopper
✔ Remove the spinner assembly before cleaning.
✔ Rinse the hopper with water and dish soap.
✔ Thoroughly dry before storage.
Cleaning the Spinner Assembly
✔ Clean with a spray bottle, soapy water, and a brush—do not use running water.
✔ Scrub the spindle shaft to remove debris.
✔ THOROUGHLY DRY and apply WD-40 to prevent corrosion.
✔ Lubricate the spindle shaft with WD-40 after cleaning for optimal performance.
Installation Instructions
Parts List
- A. Hopper
- B. Lid
- C. Bolt-On Leg Brackets
- D. Sectional Legs
- E. Cross Braces
- F. Motor/Spinner Assembly
- G. Foot Plates
- H. [OPTIONAL] Small Varmint Basket
Hardware List
- Wing Bolts: Secure the timer box inside the hopper.
- 3/8" Bolts: Used for leg brackets and cross braces.
- 9/32" Nuts: Used for varmint basket installation.
- 1/2" Carriage Bolts & Nuts: Used for spinner assembly installation.
Required Tools
✔ Socket/Wrench Set (to match hardware sizes)
✔ Work Gloves (recommended for handling sharp edges)
Step 1: Attach the Spinner Assembly
- Lay the hopper on its side and locate the spinner opening at the bottom.
- Attach the spinner assembly inside the hopper, with the spinner protruding through the bottom opening.
- Secure with 1/2" carriage bolts, inserting bolts from the inside and fastening nuts on the exterior.
⚠️ Caution: The edges of the feeder, especially near the bottom, may be sharp—handle carefully.
Step 2: Install the Timer Wiring
- Feed the motor’s long wire into the timer compartment at the top of the hopper.
- Use the small opening in the timer box to fit the wire through.
Step 3: Attach the Leg Brackets & Cross Braces
- Bolt the leg brackets to the four corners of the hopper using 3/8" bolts. The angled portion of the brackets should face downward and away from the hopper.
- Attach the cross braces to the left and right sides of the hopper, aligning them with pre-threaded holes. Partially thread both bolts before fully tightening.
Step 4: Assemble & Install the Legs
- With the feeder laying on its side, slide sectional legs onto the two angle brackets that are facing down.
- Ensure the side inserted into the brackets has no pin-locking mechanism.
- Connect the remaining sectional legs, ensuring the pin-lock mechanism aligns and locks securely.
- Carefully hinge the feeder upright onto the first two installed legs.
- While it leans against a support surface, repeat the installation process for the remaining two legs.
-
Secure each leg onto the foot plates at the bottom of the feeder.
Step 5: [OPTIONAL] Install the Varmint Basket
- If using the varmint basket, attach it before filling the feeder.
- Secure the basket using 9/32" nuts onto the pre-installed bolts around the spinner mechanism.
📌 Note: The varmint basket reduces spread distance. Only install it in open areas—avoid using it inside pens.
Need Help?
📧 info@spintechspreaders.com
☎ 210-408-8019