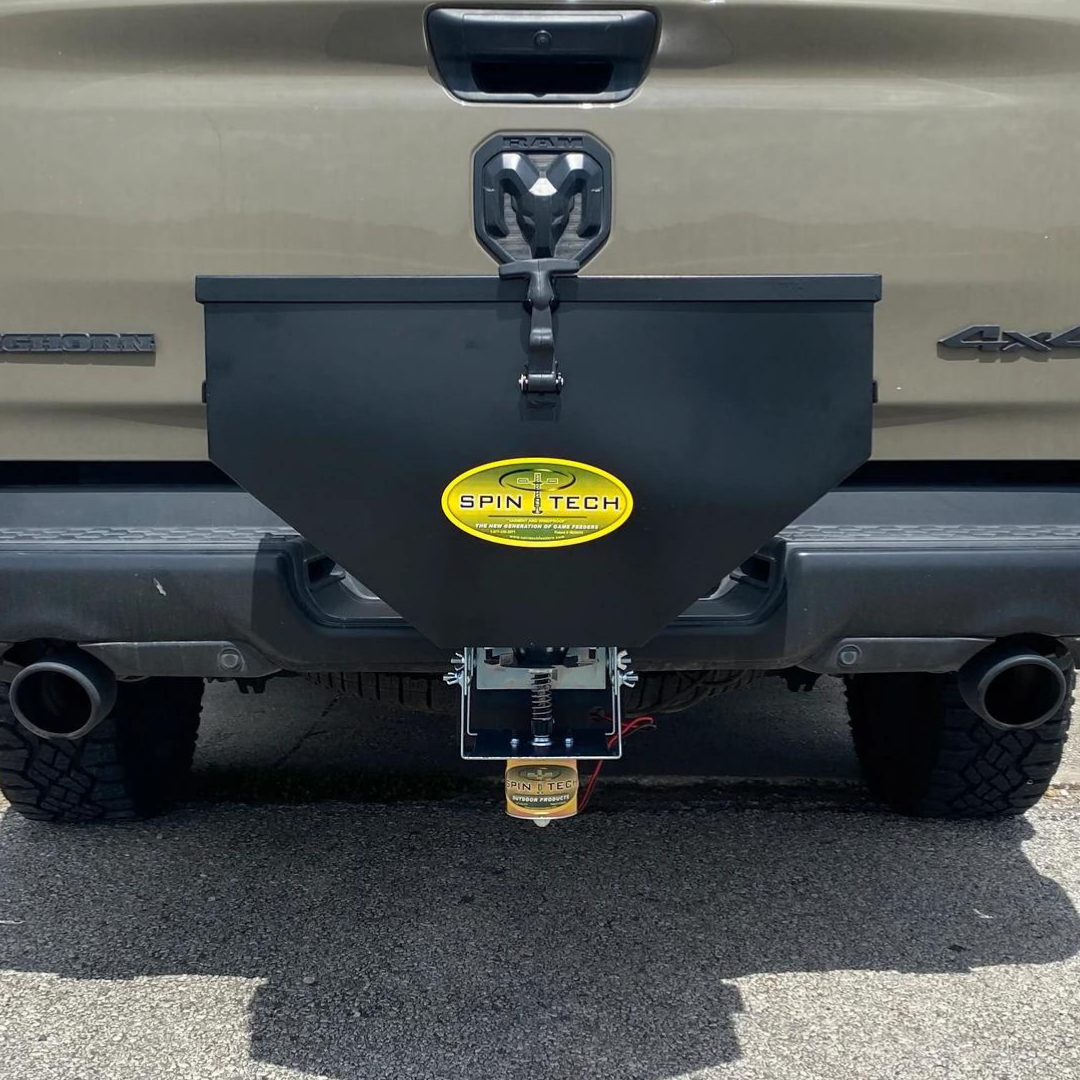

How to Retrofit a Standard 12V Motor to Your Texas Edition 12V Control Unit
The Texas Edition 12V Control Unit ships with a smaller motor, and its mounting holes are drilled to match that motor's bolt pattern. If you're upgrading to a standard 12V motor, you'll need to redrill the mounting holes to fit, and replace the spinner mechanism to match the new motor shaft.
Follow the steps below for a clean retrofit.
What You'll Need
✔ Standard 12V motor
✔ SpinTech Spinner Mechanism (sized for the standard 12V motor)
✔ Drill with appropriate bit for your motor's mounting bolts
✔ Wrench or socket set (for mounting nuts)
✔ Phillips head screwdriver (for the spinner set screw)
✔ Tape measure
✔ Silicone sealant (to seal the old mounting holes)
Step 1: Remove the Existing Motor & Mechanism
- Unplug the control unit's power source to prevent accidental activation.
- Remove the spinner mechanism currently attached to the Texas Edition motor.
- Unbolt and remove the Texas Edition motor from the control box.
Step 2: Drill New Mounting Holes
- Position the standard 12V motor against the control box to mark your new hole locations.
- The standard 12V motor's mounting bolts sit 2.5 inches apart — measure and mark accordingly.
- Drill the new mounting holes at the marked points, matching the diameter of your motor's mounting bolts.
- Fill the original Texas Edition mounting holes with silicone sealant (or a comparable weatherproof sealant). This keeps water from seeping into the control box through the old holes and helps prevent corrosion or electrical damage down the line.
- Let the sealant cure per the product's instructions before moving on.
Step 3: Install the Standard 12V Motor
- Set the standard 12V motor into place over the newly drilled holes.
- Insert the mounting bolts and secure with nuts, tightening evenly so the motor sits flush against the control box.
Step 4: Install the SpinTech Spinner Mechanism
- Fully loosen the spinner mechanism's set screw — back it out to the end of its thread.
- Attach the mechanism to the new motor shaft.
- Tighten the set screw to secure the mechanism in place.
Test the Unit
- Reconnect power to the control unit.
- Run a test cycle to confirm:
✔ The spinner plate opens and rotates smoothly.
✔ The mechanism seals shut when off.
✔ Feed disperses evenly without leaks.
If the spinner doesn't respond as expected after the retrofit, see our Spinner Mechanism Troubleshooting Guide — most post-install issues trace back to set screw tightness or motor shaft alignment.
Still Having Issues? Contact Us!
📧 warranties@spintechspreaders.com 📞 (210) 408-8019